
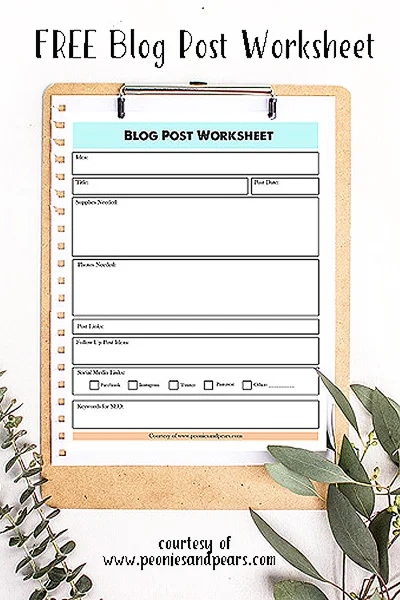
FREE Printable Blog Post Worksheet
Ok blogger friends . . . this one is for you! I'm sharing my Blog Post Worksheet. I've been blogging for almost two years now. Along the way, I've developed some processes which have become best practices for me. As we are well into the new year, I see a lot of my blogger friends have recommitted to their process and are evaluating their organization and best practices.
Struggling for post ideas has never been a problem for me. I usually jot the ideas into notebooks or save them in my phone as I think of them. Instead, it can be overwhelming to turn each idea snippet into a plan. And this my friends, is how my Blog Post Worksheet was born. It's not just about the idea, but instead the execution!

First I review those loose ideas for practicality and choose a handful to put onto this sheet in rough form, breaking each out into actionable steps. I typically prepare these in bulk about once a month so that I have solid ideas to work on looking ahead.

This process also helps me with editorial planning. I have a collection of real, ready to go ideas and can plug them into my calendar so I'm ready to roll come post time.
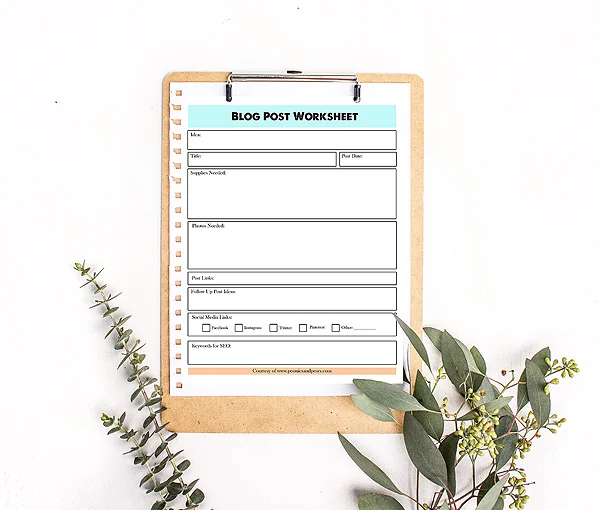
Let's walk through the worksheet.

Idea: These are taken from brainstorming or inspiration notes. I want to compose my initial thought into a more formal, practical idea.
Title: I usually fill this in last. Sometimes what starts as one thing will morph into something else.
Post Date: I usually start with the month that I want to post this. Once I've reviewed the editorial calendar, I can apply a specific date.
Supplies Needed: This is super important for me to stay organized. I need to know if there are going to be any special items to pick up as I shop to prepare the recipe or craft. I can also go through my props and supply closet to pull what I already have available.
Photos Needed: I plan the shots that I'll need in advance. When I photograph recipes, I almost always do an initial ingredient shot and then think about what stages of the recipe I want to capture shots, along with any ingredients to hold back for garnish or plate staging. It's similar for crafts, but I will usually include some props or staging elements with the finished product.
Post Links: This is where I include any other posts that I can link to within the post. For example, maybe link to another recipe with similar ingredients. This helps your SEO ratings, so I don't want to miss this opportunity.
Follow Up Post Ideas: Continuing this line of thinking, I will consider any add on posts that I could create that would relate. For instance with a recipe post for a roast, I could do a follow up post on how to use the leftovers in soup. Or a craft item could be reformatted to fit a holiday theme.
Social Media Links: I choose which ones to use ahead of time so that I can make sure I capture images that can be reworked for the graphics needed. It also allows me to consider the "style" of the project to fit the social media outlet.
Keywords for SEO: I include this on the form because I have found that when I'm sitting in front of the computer, long after the idea was formulated and executed, these key words often elude me. While it's fresh, I capture them here. I also use these words in the "tags" block on the wordpress post form.
Blog Post Worksheet
If you use this, please take a moment to share your feedback. I'd love to hear how it works for you, or what your process includes!